Article overview
1. Create the store and record the basicsSign up through Shopify and complete the store details in admin. Choose the legal business name, contact email, business address and default currency carefully; these affect verification, customer messages and accounting. A trial lets you build, but a selling plan and an eligible payment setup are needed to take live orders. Give the store owner a secure account and enable two-step authentication before inviting staff.2. Add products and collectionsIn Products, add a clear title, factual description, price and high-quality media for each product. Record SKUs, inventory locations, weights and applicable tax or customs details where needed. Explain size, materials, compatibility, care and delivery constraints in language customers understand. Use collections and navigation to make the first range easy to browse.3. Choose and customize a themeTry a current theme in the Shopify Theme Store, then review its mobile layout, navigation, product media, collection filtering, accessibility and speed using real sample content. Set brand colours, type, photography and a clear call to action. A paid theme has its own licence; extra apps may add recurring costs and scripts. Choose for the workflows you need, not only for the demo image.1. Create the store and record the basics
Sign up through Shopify and complete the store details in admin. Choose the legal business name, contact email, business address and default currency carefully; these affect verification, customer messages and accounting. A trial lets you build, but a selling plan and an eligible payment setup are needed to take live orders. Give the store owner a secure account and enable two-step authentication before inviting staff.
Screenshots show earlier interfaces; check current Shopify documentation for features, pricing and availability.

Shopify’s former sign-up page, where merchants began by entering an email address.
Before adding apps, write a short launch brief: target buyers, countries, first product range, fulfilment owner, expected returns route and customer service hours. This keeps later theme and payment choices tied to actual operations.
Keep the owner account, domain registrar, payment provider and business email in an access register. Decide who may publish products, alter payment settings and issue refunds, and grant staff only the access their role needs. This matters after an agency hands over the store as much as on launch day.
2. Add products and collections
In Products, add a clear title, factual description, price and high-quality media for each product. Record SKUs, inventory locations, weights and applicable tax or customs details where needed. Explain size, materials, compatibility, care and delivery constraints in language customers understand. Use collections and navigation to make the first range easy to browse.
Photograph the whole product in good light, then add views that answer practical questions about scale, texture, fit or packaging. Video and 3D media can help when they clarify how an item works, but test their loading on mobile. In the description, answer the questions a buyer would ask before ordering rather than repeating search phrases.
A SKU is your internal stock identifier; it helps reconcile purchasing, storage and fulfilment. A barcode is separate and may help with retail scanning. Track sellable quantity by location, and decide whether ordering should stop at zero stock. Collect package weight and dimensions before turning on a delivery rate that depends on them.
The following older Shopify product-admin screenshots show a past interface; verify current product settings in your store.
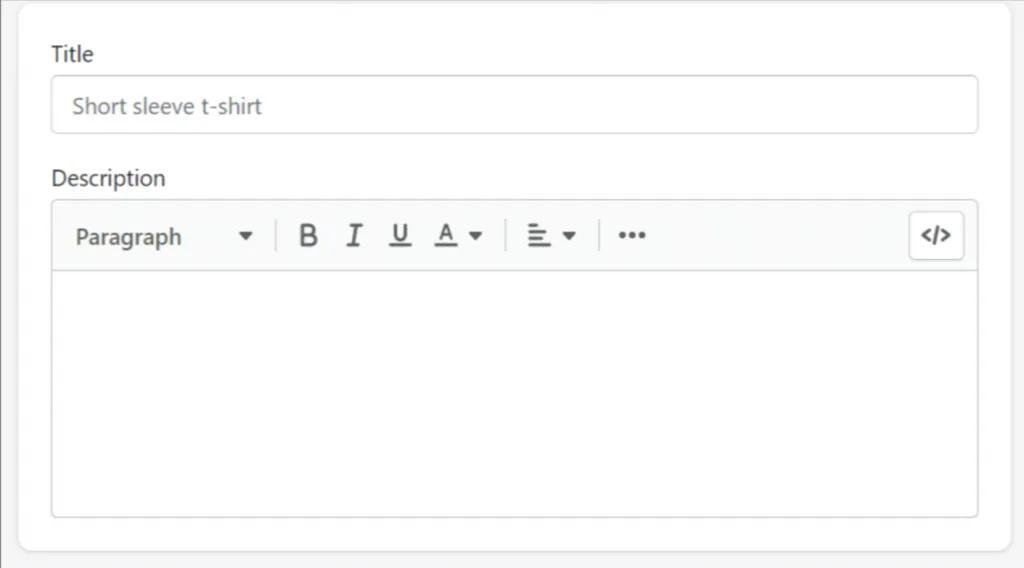
Product editor fields for a title and description.
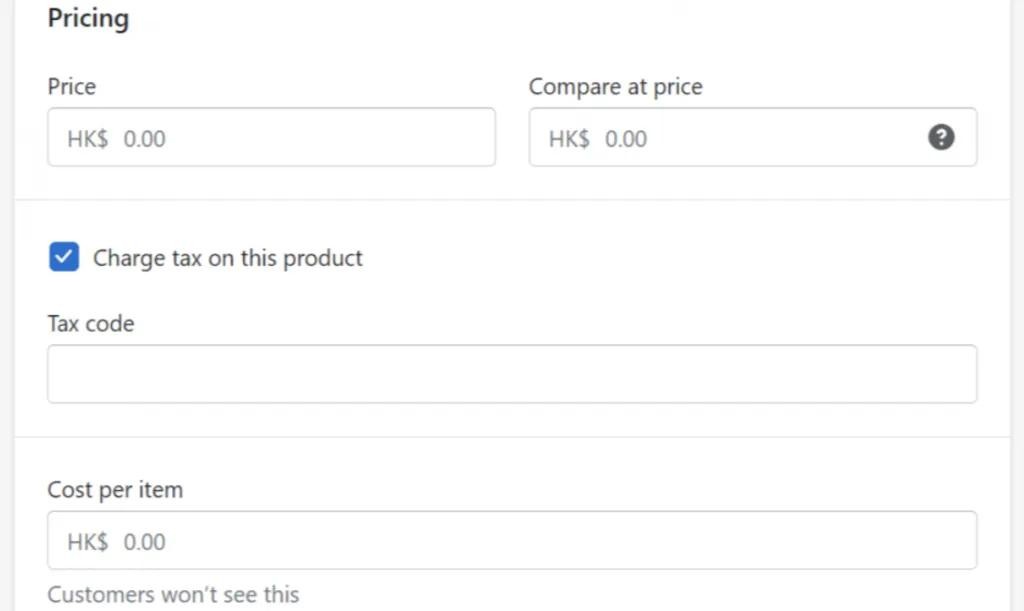
Product pricing fields, including price, compare-at price and cost.
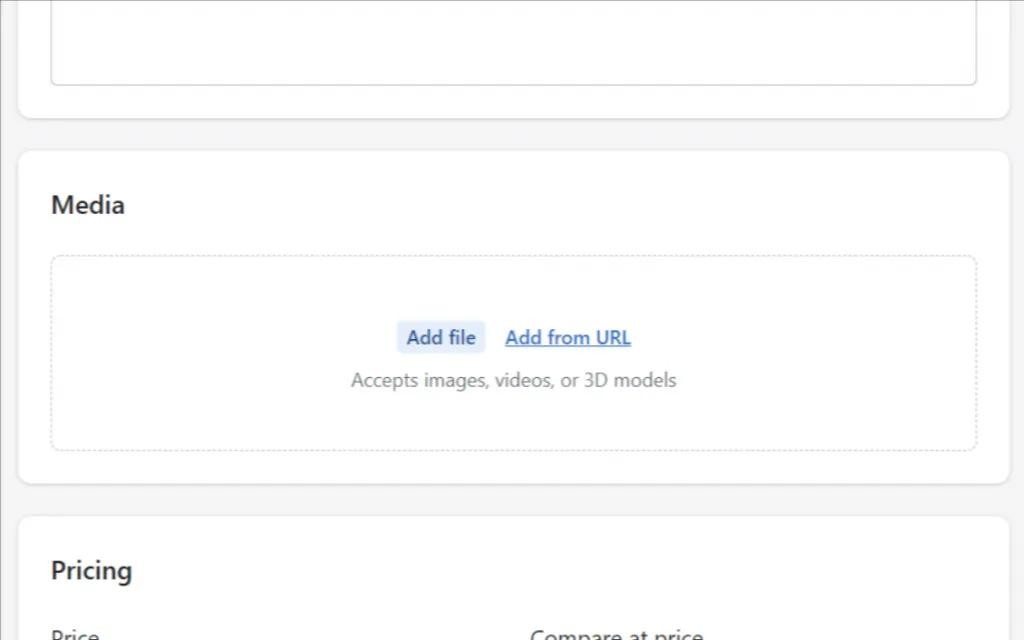
Product media area for adding images and other supported files.
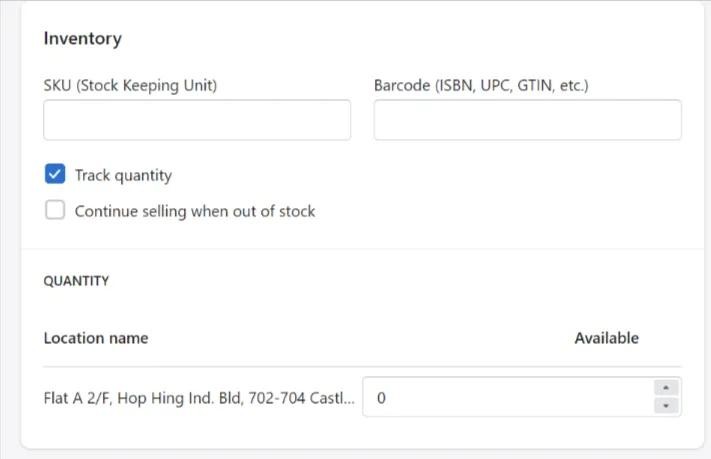
Inventory fields for SKU, barcode and stock tracking.
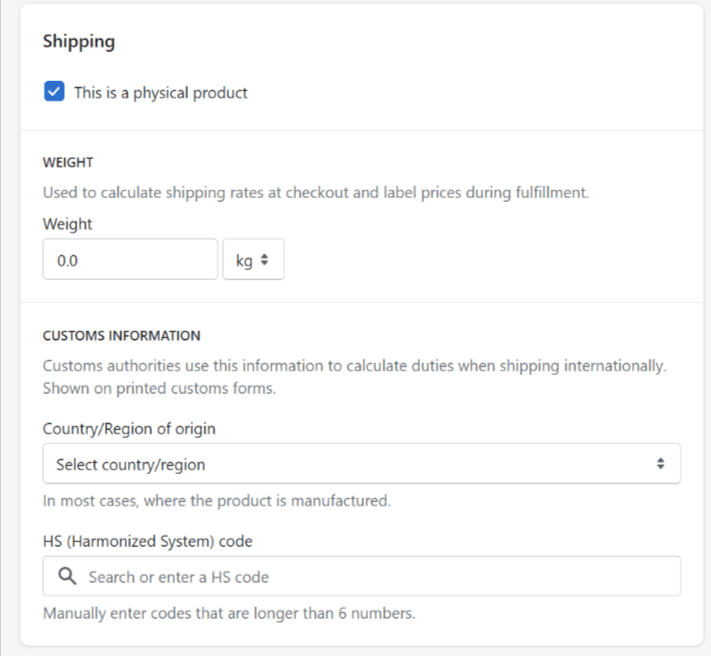
Product shipping fields for weight, origin and customs information.
A product can have up to three option types and up to 2,048 variants under Shopify’s current product model, though a theme or connected app may support fewer. Test the actual theme if you have more than 100 variants. For requests such as engraving or gift messages, evaluate product form fields or a suitable app instead of creating a variant for every possible answer.
An option is a choice such as size or colour; a variant is a sellable combination such as small / blue, with its own SKU, inventory, price or image if needed. With a large catalogue, test option selection, stock display, prices and images in the actual theme and connected apps, especially on mobile. (Shopify variant guidance)
Group products into collections that reflect how shoppers browse: winter outerwear, travel accessories or gifts within a budget. Add the collections to navigation, check the order of products on mobile, and keep filters useful. A collection should help a buyer narrow a choice, not merely restate a supplier spreadsheet.
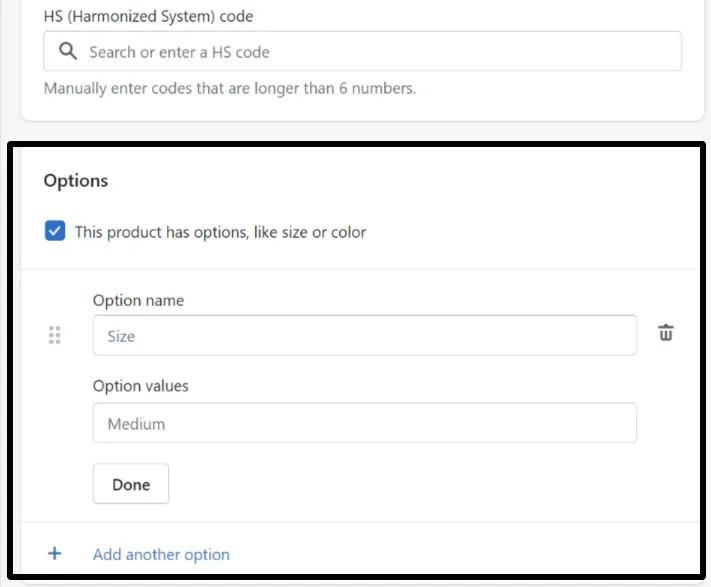
Product options editor showing a size variant.
3. Choose and customize a theme
Try a current theme in the Shopify Theme Store, then review its mobile layout, navigation, product media, collection filtering, accessibility and speed using real sample content. Set brand colours, type, photography and a clear call to action. A paid theme has its own licence; extra apps may add recurring costs and scripts. Choose for the workflows you need, not only for the demo image.
Try a theme with real products before buying a licence. In its editor, preview the home, collection, product and content templates, then adjust sections and blocks. The settings vary by theme. If code changes are necessary, duplicate the theme first and record who will maintain the custom work after launch. (Shopify theme guidance)
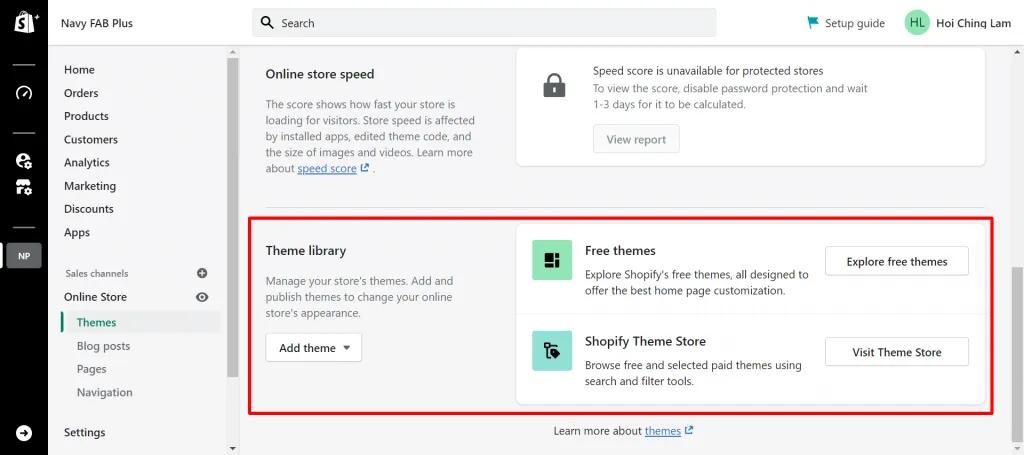
Shopify admin’s theme library and links to explore other themes.
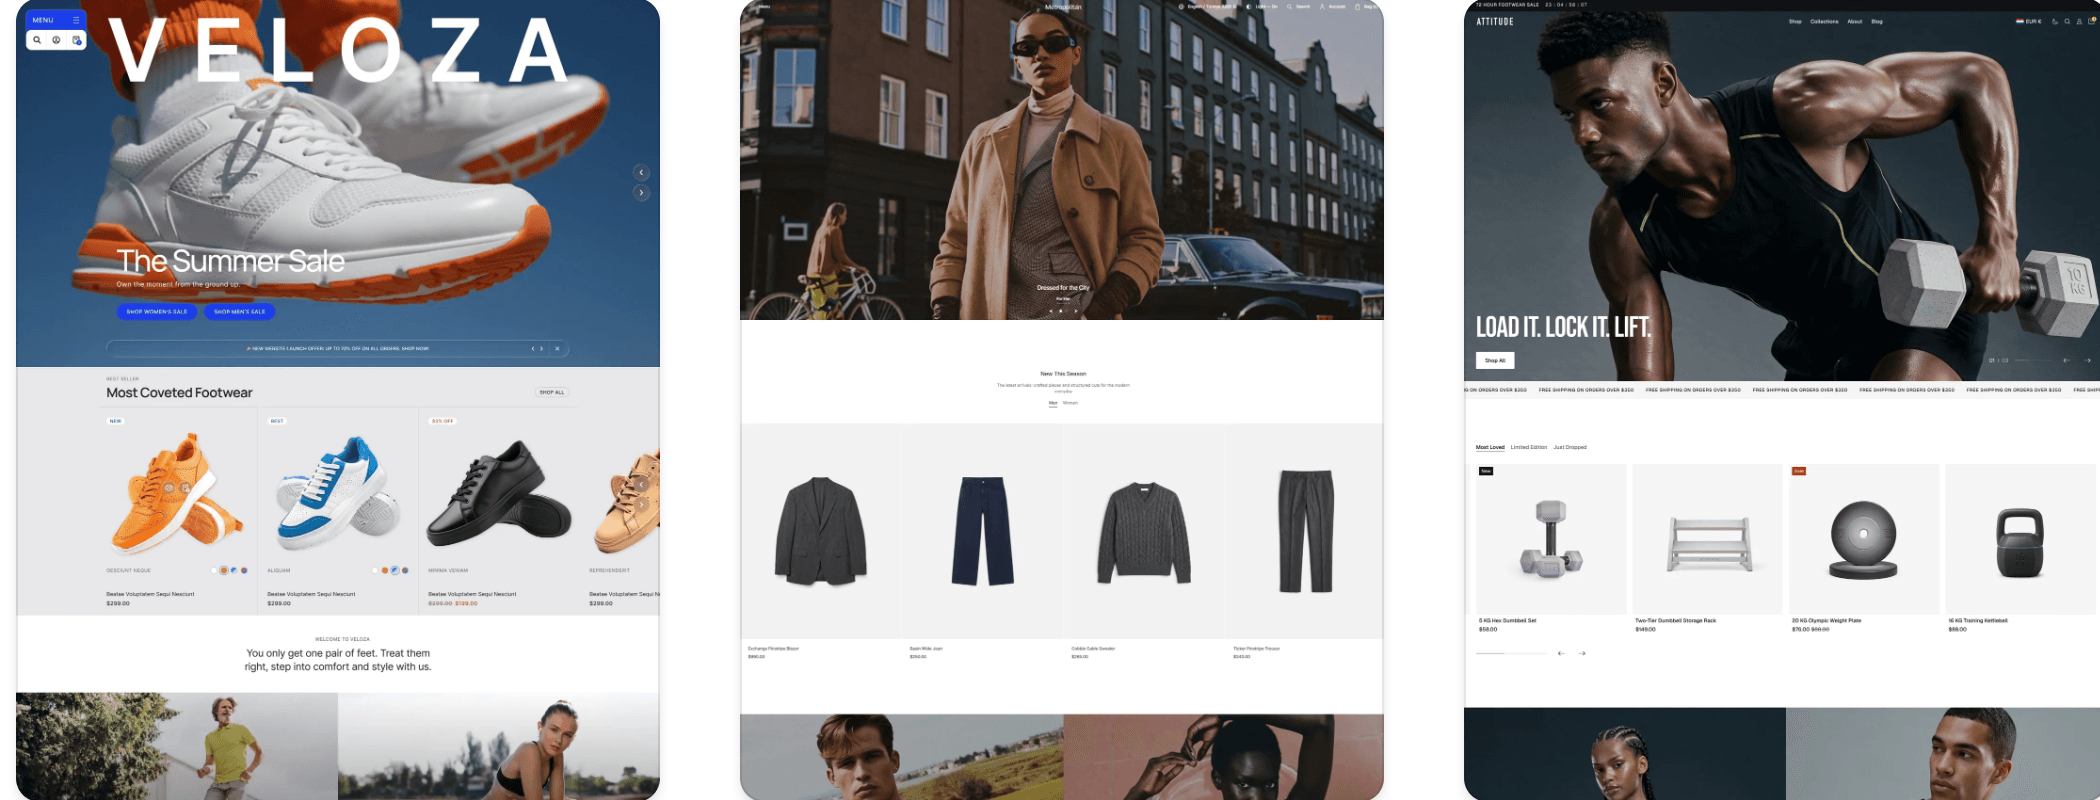
Shopify Theme Store theme listings, captured October 2026. Image source: Shopify Theme Store.
Build the essential pages: About, Contact, FAQs, shipping, returns and privacy. Use accurate policies and contact details to reduce confusion at checkout. Preview common screen sizes and make sure every prominent button leads to a live collection, product or page.
Give each essential page a job
The home page should tell new visitors what the brand sells and lead them to a suitable product range; returning visitors should find a familiar range quickly. A Contact page needs a working form or channel and realistic response time. An About page can explain the people, materials and purpose behind the brand. A FAQ should answer recurring sizing, shipping, exchange and refund questions, with links from the pages where those questions arise.
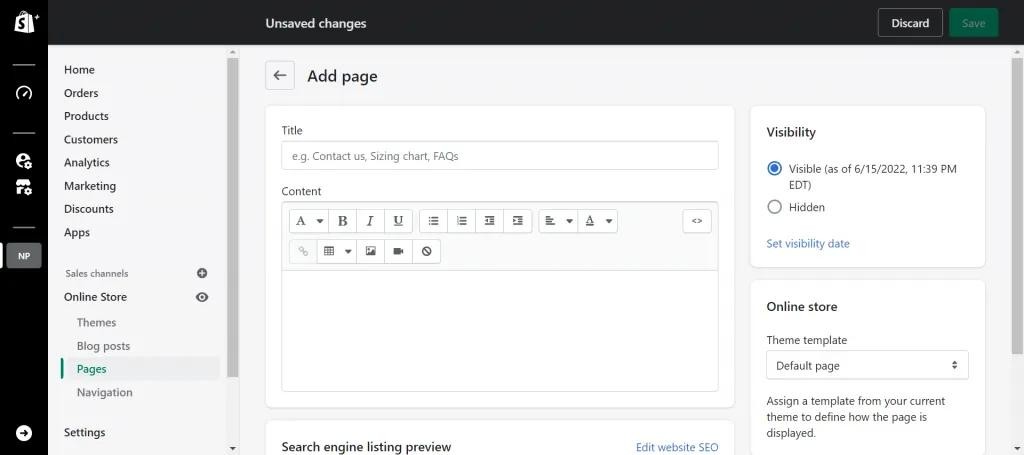
Page editor used to write store pages such as contact and policy information.
4. Connect a domain and check email
Your store starts with a myshopify.com address. You may buy a new domain through Shopify or connect one owned elsewhere, then set the primary domain. Follow the DNS instructions shown for your setup and wait for verification and SSL to complete. Keep control of renewal and registrar access.
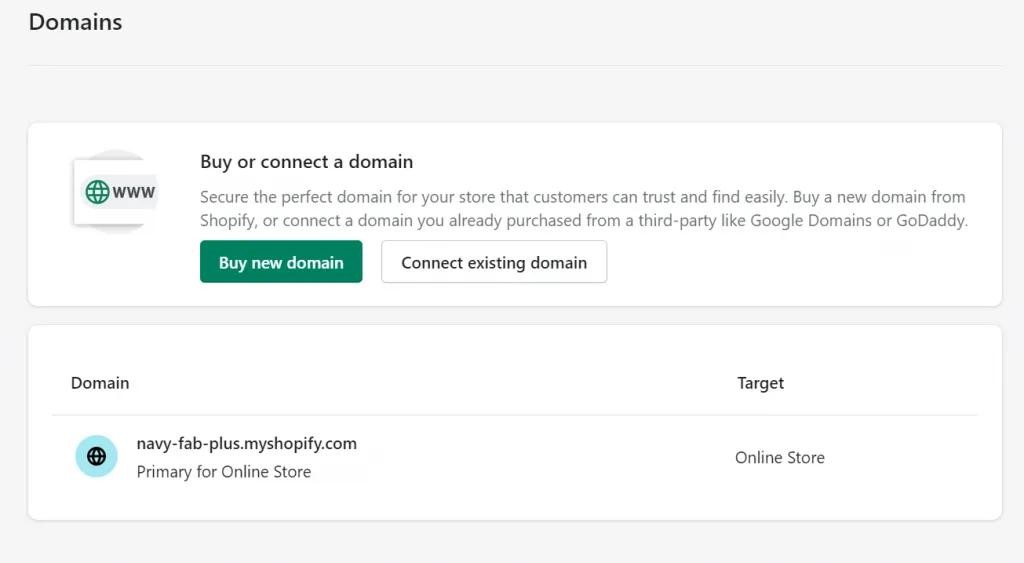
Shopify domain settings showing options to buy or connect a domain.
A domain does not by itself provide a working mailbox. Set up the business email separately, verify the sender domain where required, and send test contact and notification messages. Check that customer-facing links and the store name use the intended domain.
If the domain was bought elsewhere, retain control of its renewal and copy the DNS values shown for your store, rather than a value from an old screenshot. Check the primary and www addresses, redirects and HTTPS after the change propagates. Mailboxes need separate hosting; note existing MX and sender-authentication records before altering DNS so company email keeps working. (Shopify domain guidance)
5. Configure shipping, taxes and returns
Set shipping and delivery zones for every country you plan to serve. Choose rates based on your actual fulfilment process: flat, price-based, weight-based, free-shipping thresholds, local delivery or pickup where suitable. Live carrier-calculated rates depend on plan, carrier or app eligibility, so test them before promising them. A product weight is useful only when the rate or label workflow uses it.
A flat rate is predictable but may undercharge heavy or remote orders. Weight- or price-based rates and a free-shipping threshold can be useful, provided packaging, labour, surcharges and returns still fit the margin. If a carrier or app supplies live quotes, test supported postcodes, parcel dimensions and what happens when a quote fails; do not promise a carrier service you have not tested.
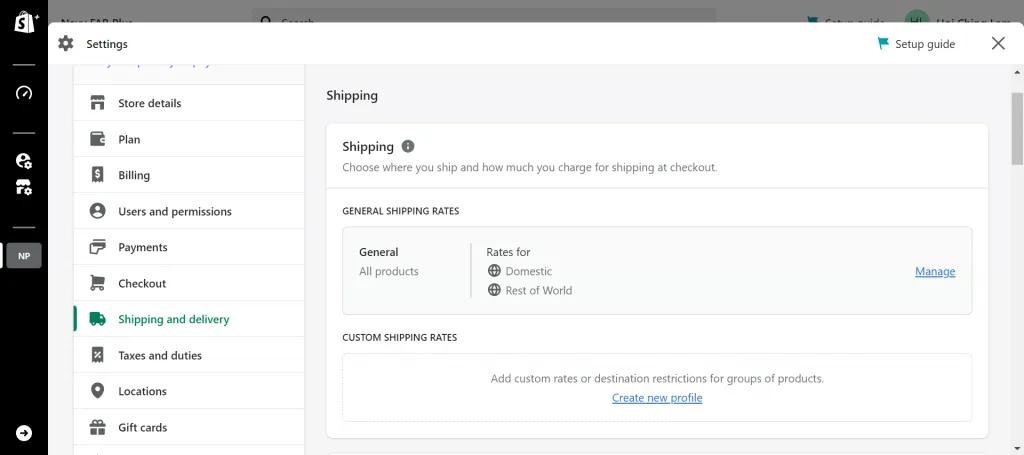
Shipping settings for general rates and delivery profiles.
Set up fulfilment locations and a repeatable packing, label and tracking process. Review tax and duty obligations with a qualified adviser for the markets you serve, and publish delivery and return timeframes that your team can meet. Place a test order for a remote postcode and an oversized item to catch rate gaps.
6. Activate payments for your business entity
Shopify Payments is available for eligible Hong Kong online stores. Cards and accelerated checkouts such as Apple Pay, Google Pay and Shop Pay are listed separately from local payment methods. Alipay and WeChat Pay are available through Shopify Payments but both are in early access: eligible Hong Kong SAR merchants must request activation and pass review, and access is not guaranteed. These wallets support one-time online orders, not subscriptions or gift-card purchases. Check your own Payments settings, customer markets and checkout before launch.
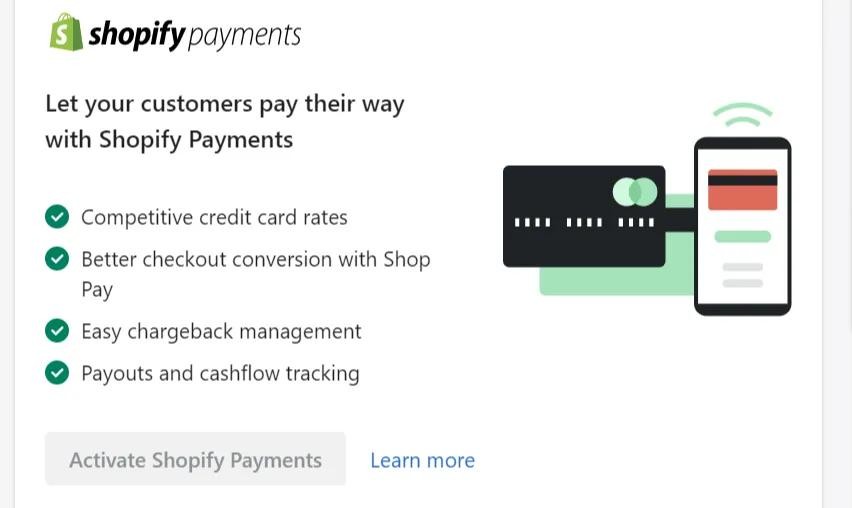
A former Shopify Payments activation panel; availability depends on the store’s business location.
You may also configure an eligible third-party or manual method. Compare processing charges, Shopify third-party transaction fees, refunds, chargebacks and payout timing using the current pricing and provider terms. Do not assume an agency can waive platform fees. If selling abroad in local currencies, verify the processor requirements and test a checkout in each market.
Make a small test order for each chosen payment method and practise a refund. Confirm the buyer's charge currency, your payout currency, settlement time and dispute route. Health-product eligibility and agency discounts vary by provider and contract; use the provider's current terms and your own business category.
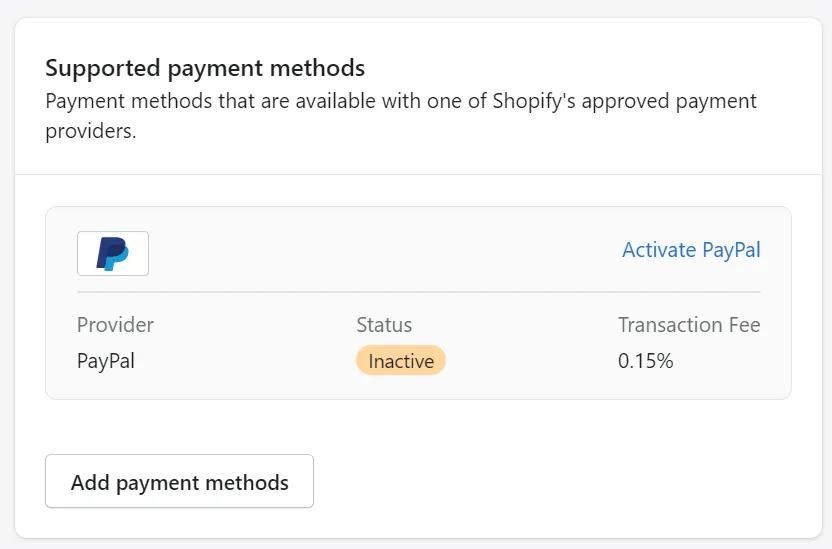
Third-party payment-provider screen showing PayPal as inactive.
7. Set languages and markets deliberately
For Hong Kong customers, decide whether English and Traditional Chinese are both needed. Add languages in Settings, translate products, policies, menus and notifications with Translate & Adapt, CSV or a compatible app, and review the translation by a native speaker. Markets can tailor domain, language, currency and pricing by audience.
Translate the entire purchase journey, not only the homepage. Check that market selection, shipping zones and payment methods align. For a new country, confirm tax, duty, restricted products and return logistics before switching its market on.
A market is more than a translated banner. Check product availability, local prices, URL structure, shipping promise, duties and support language together. A displayed currency does not guarantee that every gateway can charge in that currency; test the actual checkout. (Shopify Markets guidance)
8. Connect sales and support channels
Add only channels your team will maintain, such as social commerce or search feeds. Each channel has its own eligibility and product policies; test publication and inventory behaviour rather than assuming every item will sync. Shopify Inbox can put chat on the storefront, but its connected messaging capabilities should be verified in the installed app and region.
Google, Facebook, Instagram and Shopify Inbox are possible sales and service channels, subject to eligibility and integration rules: channels may reject products, apply different inventory rules or change their messaging integrations. Assign an owner to resolve publication errors and customer conversations. Prepare useful first replies about delivery, sizing and returns; verify any connected messaging channel in your account.
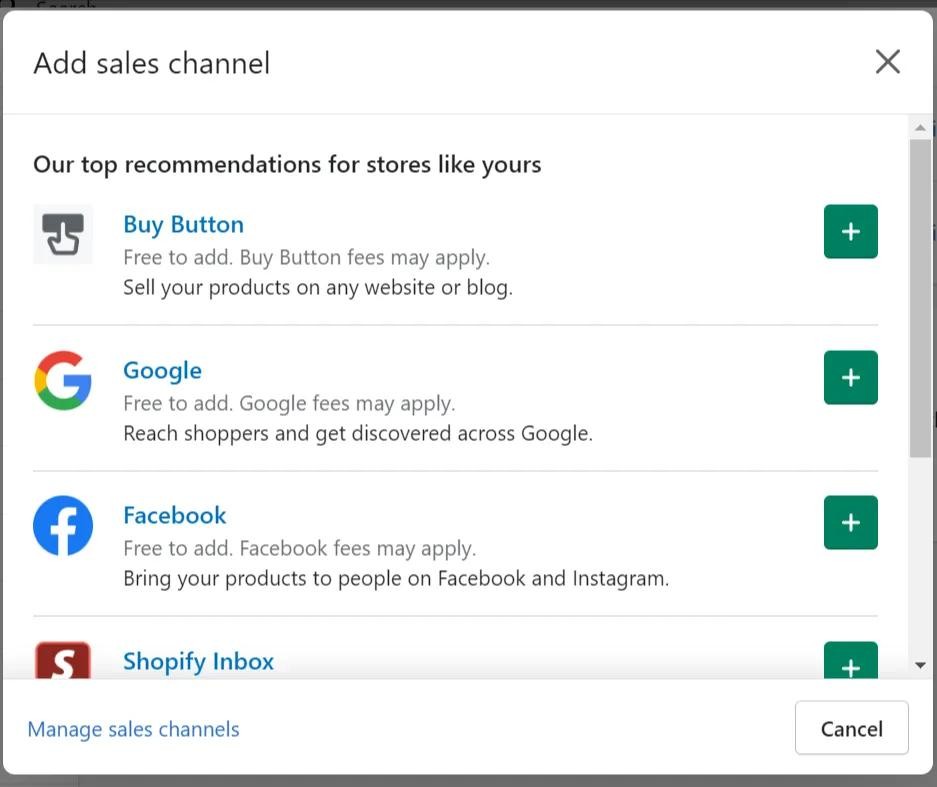
Sales-channel picker showing Google, Facebook and Shopify Inbox among the available integrations at the time.
Set a customer service owner and response schedule. Prepare answers for order status, sizing, delivery changes and returns. Keep marketing consent and customer privacy settings consistent across website forms, email tools and any social integrations.
9. Run a launch check, then publish
Place test orders for domestic and international addresses, discounts, different payment methods, shipping rates, taxes, notifications, refunds and inventory changes. Check a mobile checkout, contact form, navigation, language switch, analytics and search indexing settings. Shopify has an official launch checklist to work through.
When these checks pass, choose the appropriate plan, verify the payment account is active, and remove the storefront password. Keep an owner on call for the first live orders. Review errors and customer questions in the first week and fix the highest-friction issues before adding more apps or campaigns.
Launch day begins the operating work. Assign who checks failed payments, out-of-stock alerts, support messages and fulfilment exceptions, and how those issues are escalated. A first-week log of recurring questions often shows which product description, navigation label or policy needs fixing.
Sources
- Shopify getting startedChecked
- General store launch checklistChecked
- Adding variantsChecked
- Shopify Payments for Hong Kong SARChecked
- Hong Kong customer payment methodsChecked
- Localization and translationChecked
- Markets requirementsChecked
- Alipay with Shopify Payments: eligibility and early accessChecked
- WeChat Pay with Shopify Payments: eligibility and early accessChecked